Easiest Wooden Lantern Tutorial
This post may contain affiliate links and I may earn a small commission when you click on the links at no additional cost to you. As an Amazon Affiliate I earn from qualifying purchases. You can read my full disclaimer here.
Are you interested in these Wooden Lanterns that seem to be everywhere these days? Well, if you are, then stick around. In this post I will show you how to make wooden lanterns without the expensive price tag. These would make an amazing present for anyone in your life or add some new decor inside or outside your own home and they are beyond simple to make and customize for yourself.
This Wooden Lantern project requires such a small amount of materials and makes a great scrap wood project as well. You can also modify this super easy to fit the sizing you prefer, but I will show you the measurements I used. Let’s jump right into the tutorial!
Supplies List:
- Tools Needed
- Miter Saw (you can also use a hand saw or a jigsaw)
- Nail gun and some 1.5″ Brad Nails
- Orbital Sander
- Materials
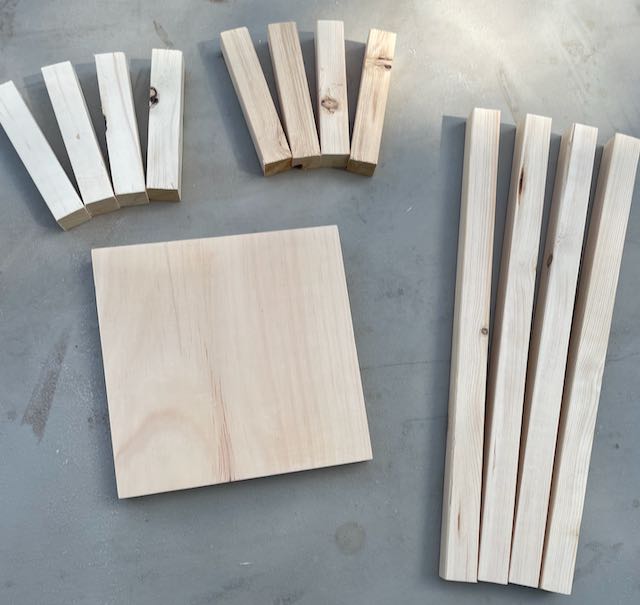
- Wooden Garden Stakes or Square Dowels cut to size:
- Legs: 4 – 12″ long
- Supports: 8 – 3.75″ long
- Base: 1 – 1″ x 6″ x 6″
- Stain or Paint of Choice (I used Early American)
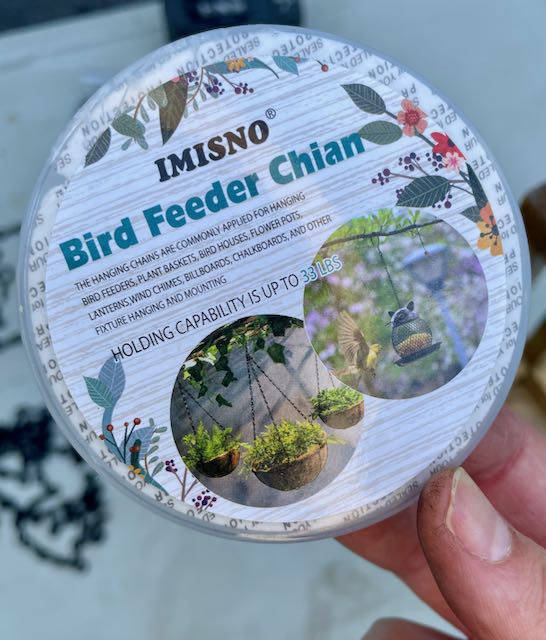
- Chain Kit (I used this bird chain kit)
- Wooden Garden Stakes or Square Dowels cut to size:
Steps
Sanding
Wooden garden stakes – who knew? Here me out, you can get these at your local hardware store or even at Ocean State Job Lot (that’s where I got mine). However, these are not really the smoothest wood, so before you make any cuts, save yourself the frustration of sanding tiny pieces of cut wood and just sand the entire thing. Trust me – you will thank yourself.
Start with 120 grit, then move right up to 220 grit. It is actually quite amazing what sanding can do to an otherwise unattractive piece of wood.

Cuts
Now it is time to make your cuts. Don’t feel like you need to use my exact measurements. This is completely customizable, just factor in your base size and your height and go from there.

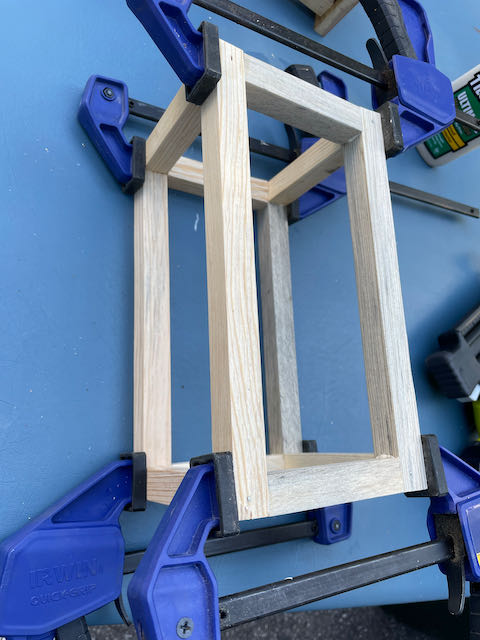
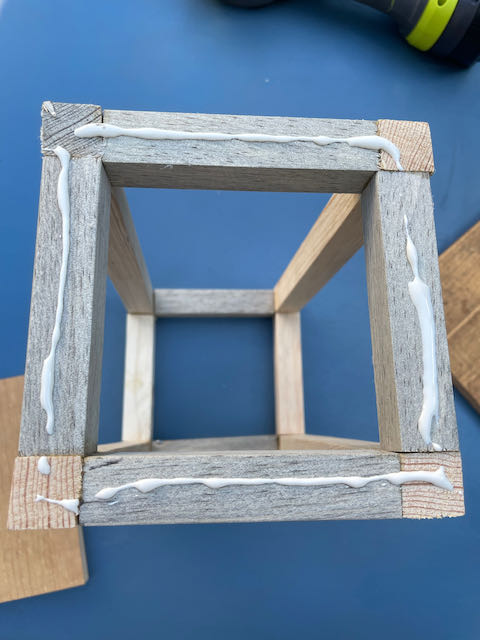
Assembly
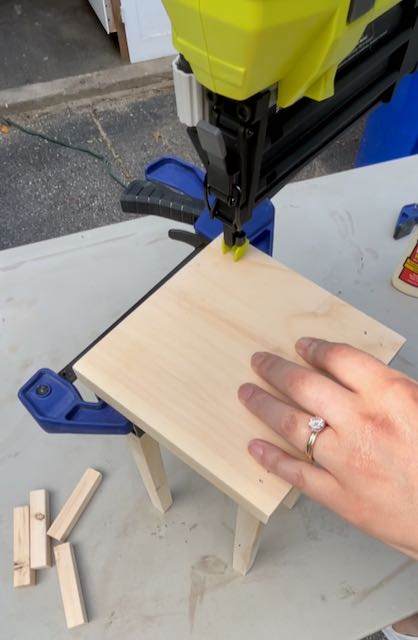
Using some wood glue, clamp the pieces together to make a box. The glue takes about a day to completely cure, but all we are looking for here is for it to stick so you can remove the clamps and add your nails – preferably 15-20 minutes should do the trick.
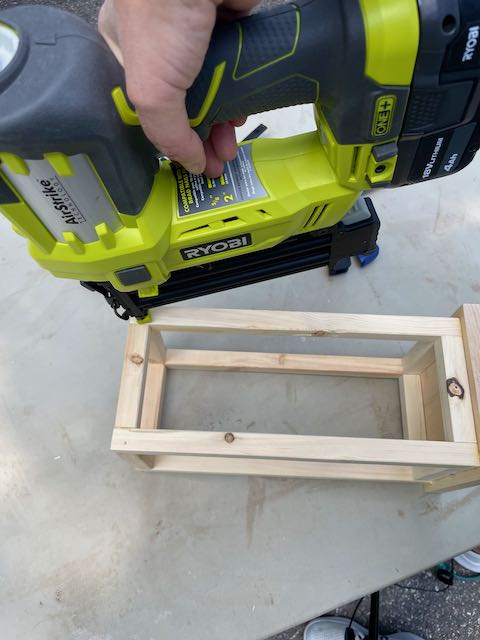
After all the sides are completed, you can now glue and nail the base of the lantern.
Finishing
We are almost there…I am telling you, this is such a quick and easy little project.
You can fill the nail holes or not…it’s really your choice. They are so small and you can barely see them, but if you choose to, this is the wood filler I used and it was super easy to add that little extra finish.
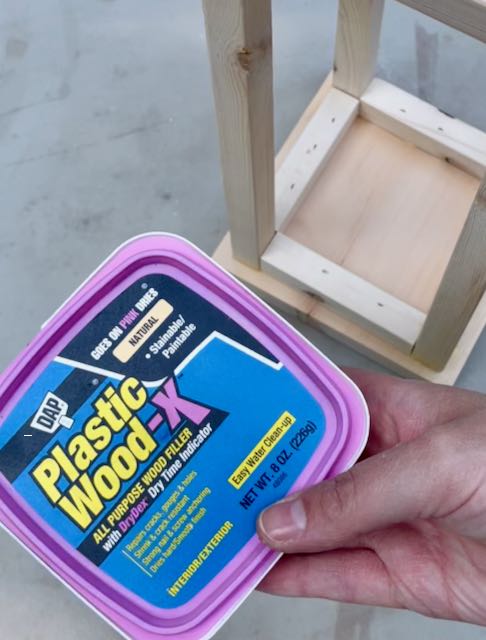
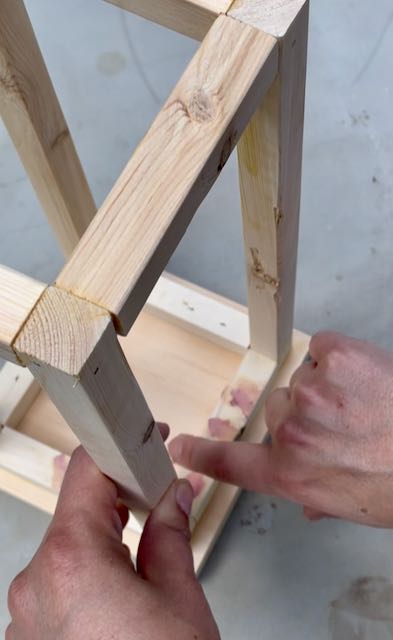
There are lots of great options out there for wood filler, but I really love this stuff. It tells you when it is dry by its color – basically it isn’t pink anymore – lol. Easy! Once it dries, go ahead and give it a light sand to smooth it out.
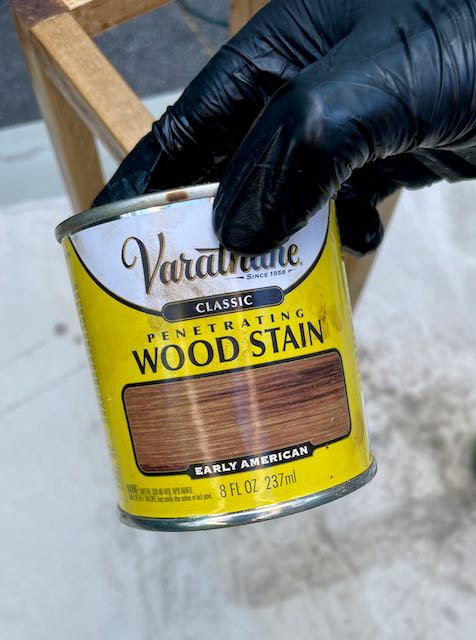
From here you can paint it, stain it or leave it. Today we are going to use Varathane Early American – it’s MY personal favorite, but by all means – go with what you love.
Last step – we want to protect this work. These will be living outside and getting blasted with rain, so I used oil based poly. Just follow the instructions of whatever sealer you choose to use.
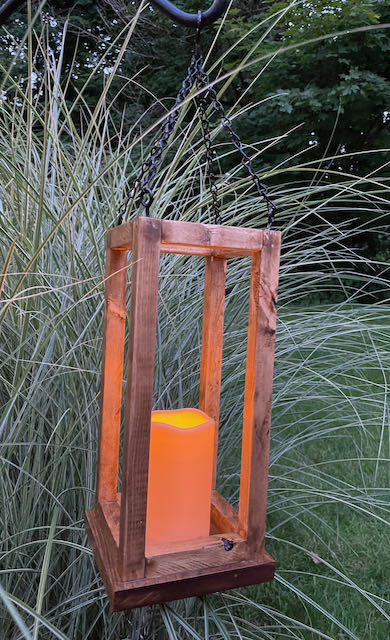
One last decision – do you want these to be hung? This kit had everything I needed and even gave me a good laugh with their spelling, but hey – who cares – it works perfect. No need to be nit picky here. lol

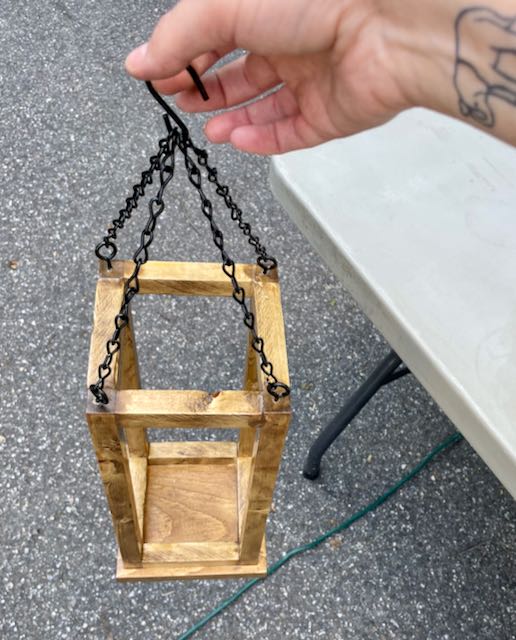
That’s it – we are done! Aren’t these so incredibly simple. This is a great beginner project. I can attest to that, because I am in fact a beginner! 🙂
Such a wonderful little addition to any inside or outside decor. To be honest – I have already made 8 of these. Some for us in our home and some as gifts.
I really hope you give these a try. Power tools certainly make it faster, but not necessary at all.
If you enjoyed this project tutorial, I also have another great easy beginner (or scrap wood) project here.