3 EASY methods to upcycle your trash into treasure
This post may contain affiliate links and I may earn a small commission when you click on the links at no additional cost to you. As an Amazon Affiliate I earn from qualifying purchases. You can read my full disclaimer here.
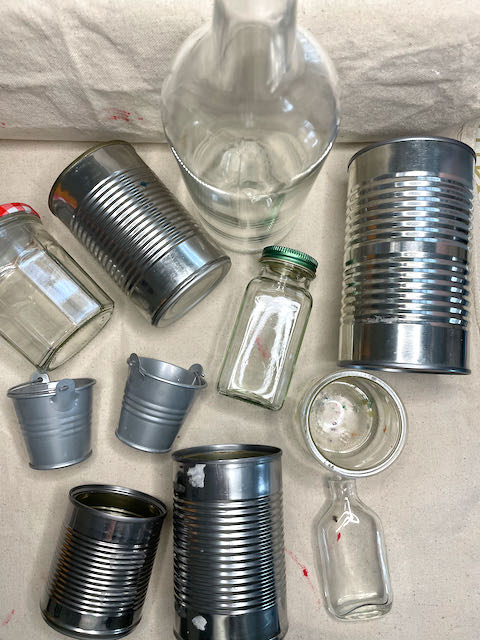
Do you have an abundance of tin cans or glass bottles?
Well if you do, let’s repurpose trash into some treasure.
Let’s get into that upcycle game! In this house it is either pasta sauce cans, wine bottles or jelly jars. We are avid recyclers, but honestly I always feel so guilty not getting better use out of these. Flipping these pieces to serve a functional purpose in our home is a great way to repurpose what would normally just be tossed in the recycling bin. I love being able to repurpose items when I can.
These three methods I am going to show you couldn’t be easier, while also looking so great and I love having some as decor pieces. Then some of them just help me organize. Win Win in my book.
First – Patching Plaster
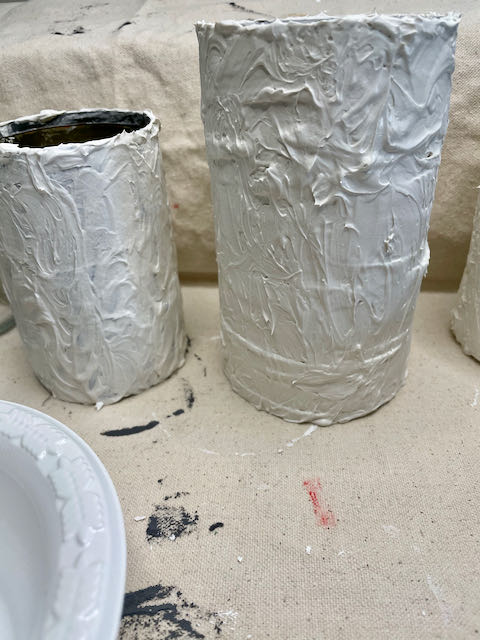
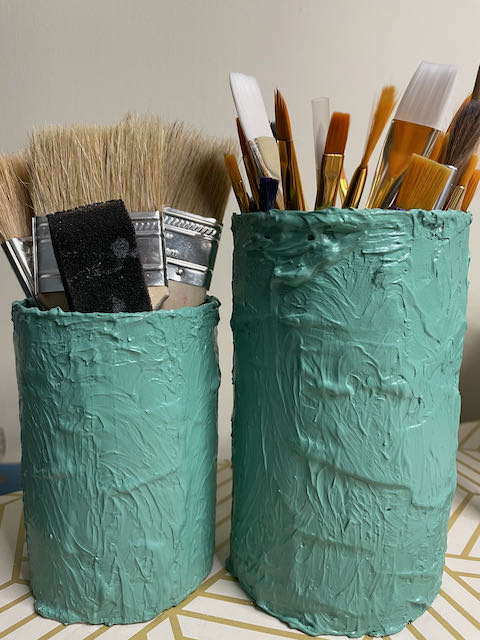
From sauce cans, to tuna cans, to cat food cans – the supply is endless. I had to figure something out because our recycling bin is FULL of these. This has got to be the easiest DIY upcycle project you will ever do and it feels so good too. Can’t beat that. This was probably the most fun way to repurpose trash into treasure.
Materials (with links)
- Patching Plaster (I just happened to have this on hand) or Plaster of Paris or Joint Compound
- Tin Cans/Container of choice
- Rubber Gloves or Putty Knife
- Acrylic Paint
- Modpodge (optional)
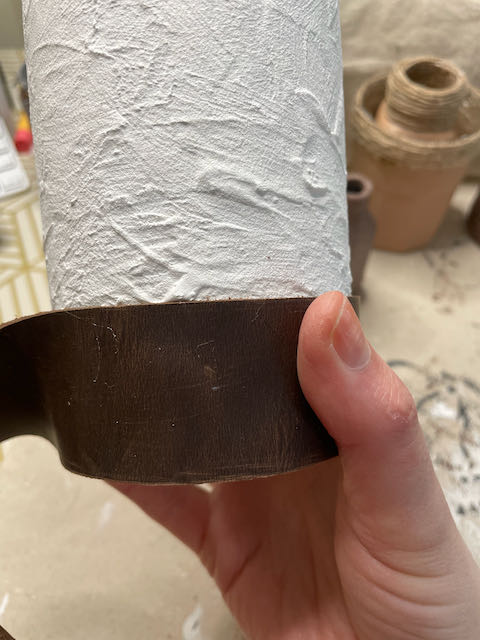
You can apply a couple of different ways with this. I used a putty knife on a couple, but then I actually had more fun and enjoyed the texture more by applying with my hands.
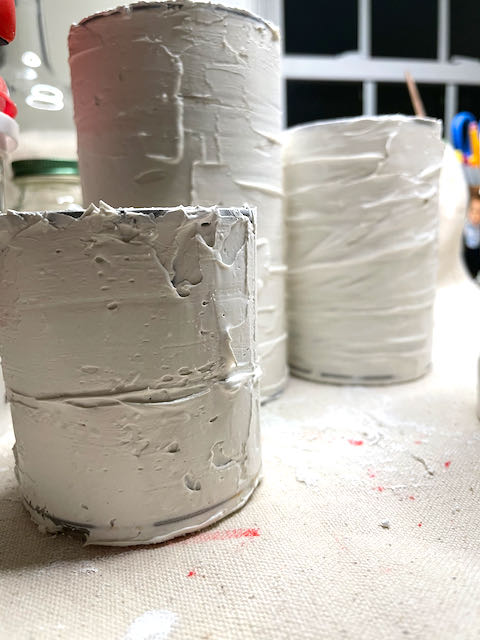
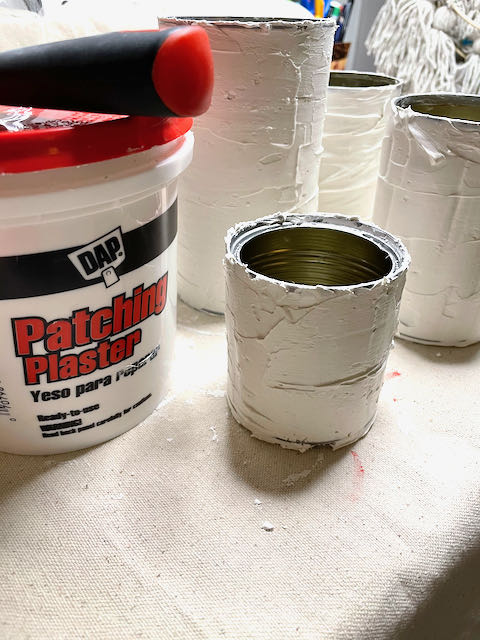
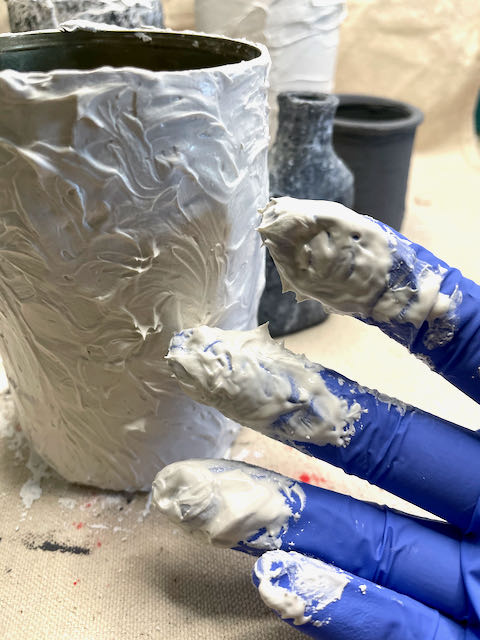
Whichever way you choose to go, just try to make sure you have an even layer and full coverage. I applied one coat, let it dry for a couple of hours (it won’t be completely dry) and then add another coat. This seemed perfect. Plus I was able to fix up any pieces that needed more or less texture.
Once you have good coverage and you are happy with the look, let this dry completely overnight.
Mix up some paint of your choice and have some fun with it.
I chose to put a little extra protection on mine by giving it a good layer of modpodge, but this is totally optional.
That’s it! Literally – your done! It really doesn’t get any easier than this.
Number 2 – Rope
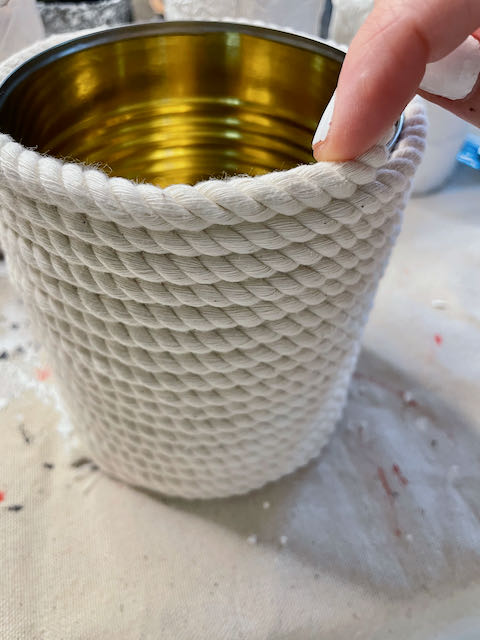
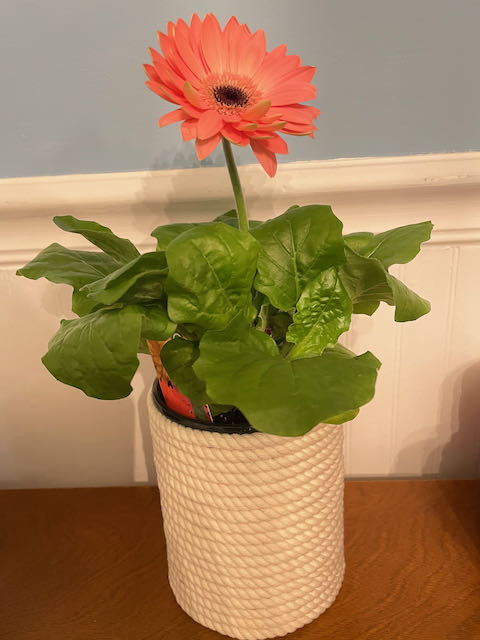
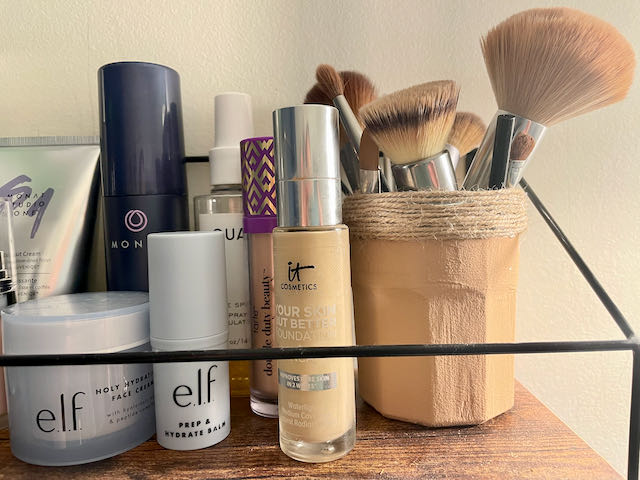
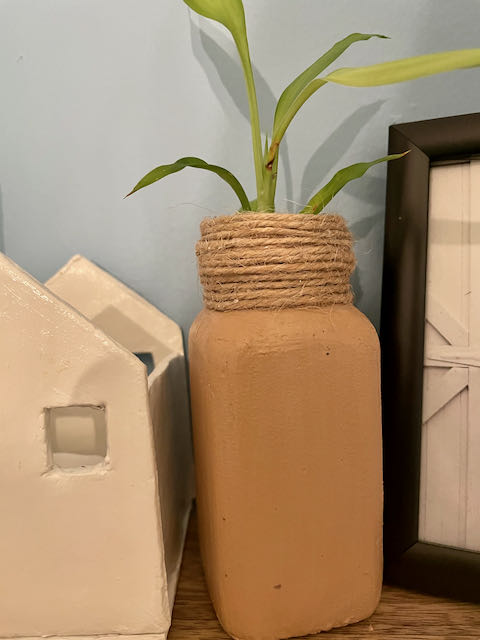
This one is so incredibly easy and can really transform a container into a really nice container. I used mine to dress up my lonely little flower that is here to remind me that Spring is ALMOST here!!
Materials:
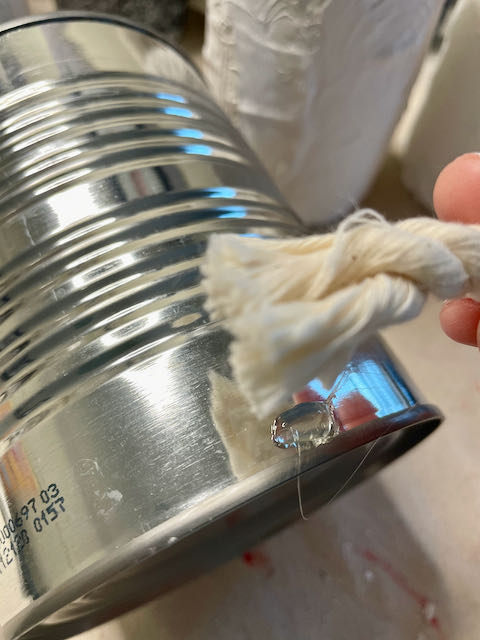
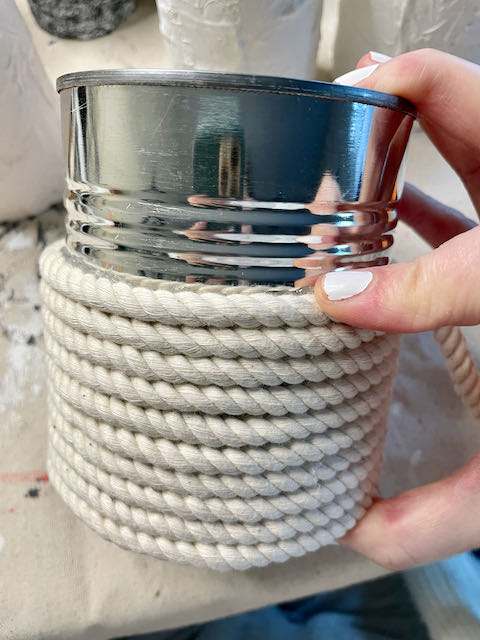
I like to start at the bottom of the tin with the rope. I find it just easier to finish it off by ending at the top. Anywho, just put a little hot glue along the bottom and attach your rope. Now just keep going around until you get to the top. **please be careful – the glue is hot and it will warm up this can**
Number 3 – Baking Soda Paint
Materials are as follows:
- Acrylic Paint – this is a great little set with a variety of colors you could play with
- Baking Soda
- Paint Brush
- Tin Cans or any container of choice
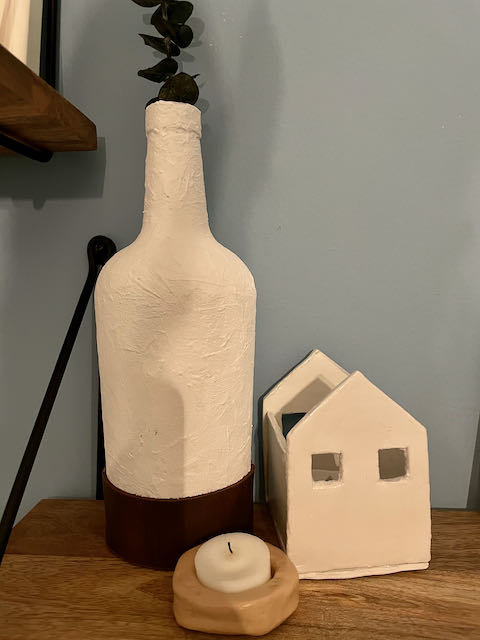
I personally prefer glass with this application, but you can certainly use pretty much anything that takes paint well.
When it comes to mixing, there are all kinds of recommendations and honestly I just keep mixing until I get the consistency I am looking for. The more baking soda, the more texture. However you want a balance, so the paint can spread evenly. I start with about a 50/50 ratio. I like mine a bit thicker.
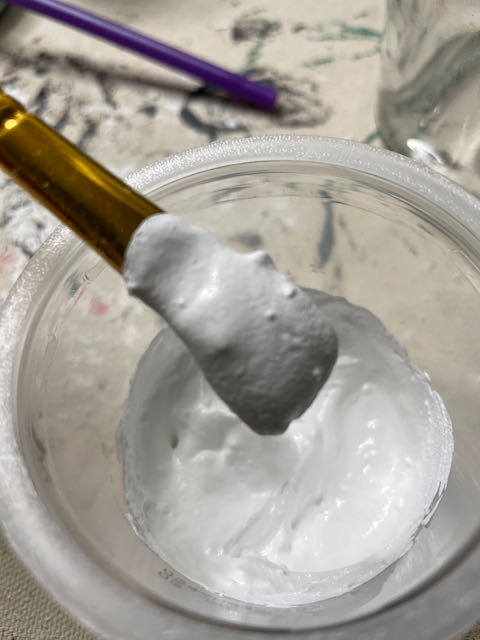
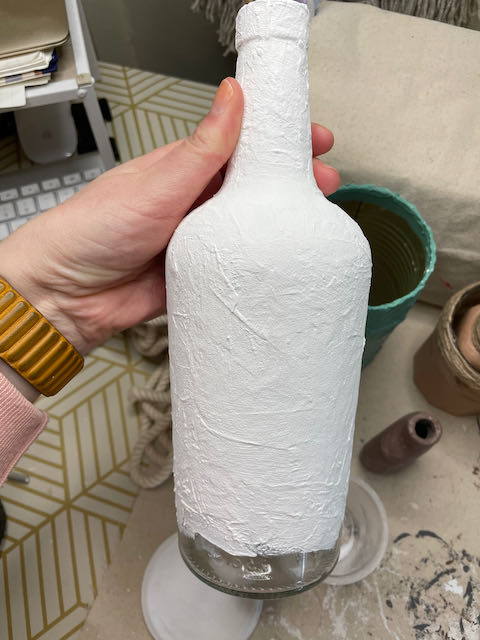
For this piece I did two coats. Let it dry in between coats. You can add even more texture with the brush strokes you use.
I had some scrap leather that I added to this one, and I am loving the contrast of color and texture.
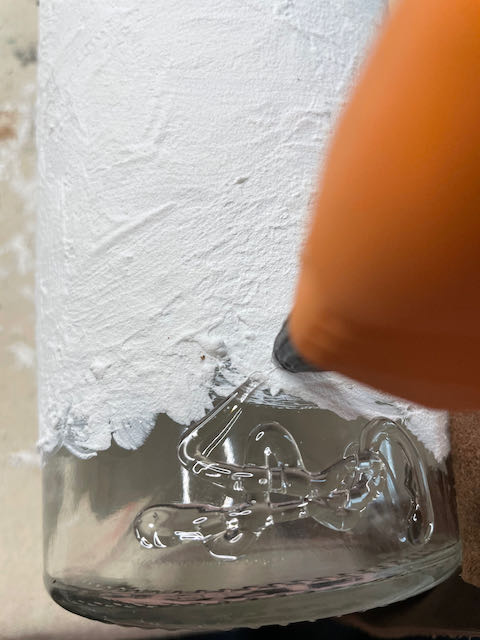

I really love all of these and I can’t wait to see what else I can repurpose.
Let me know what you think. Drop a note in the comments. I would love to see the creations you create.


