5 Easy Air Dry Clay Projects
This post may contain affiliate links and I may earn a small commission when you click on the links at no additional cost to you. As an Amazon Affiliate I earn from qualifying purchases. You can read my full disclaimer here.
air dry clay should not be intimidating…
We are going to go over 5 easy air dry clay projects here. I honestly have never worked with clay before. Okay, maybe in middle school art class, but that was it. Since I am a newbie, I decided to start with Air Dry Clay first. Not sure why, but I just felt like it would be easier.
What did I like most about this project? You really don’t need many supplies at all. This isn’t something that requires you to go out and buy a bunch of supplies. I do have some tools that I used, but you don’t NEED them. You probably have the necessities in your kitchen. You can even use an empty wine bottle as a rolling pin 😉 If I were to recommend one necessity – that would be a sharp knife, like a box cutter or exacto knife and your roller of choice.
I have put together a few quick and easy little projects for you to tackle. These make great little accessories to your home or the cutest little gifts.
Let’s get started!
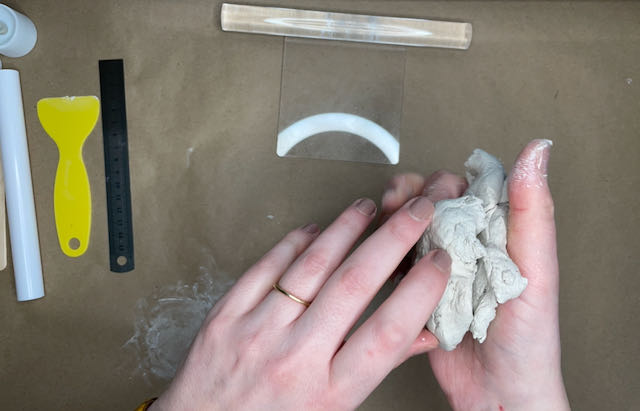
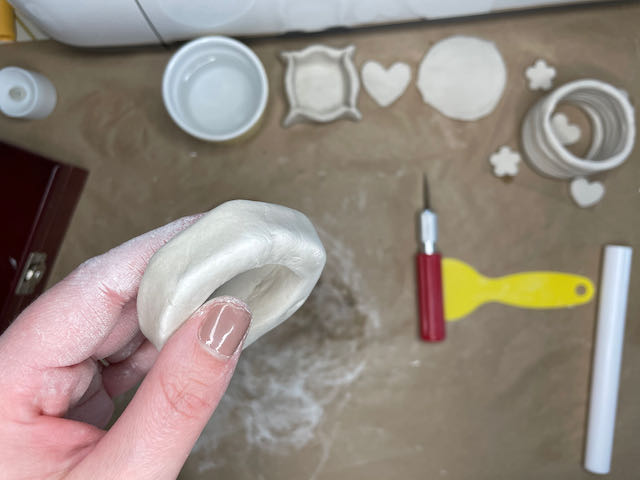
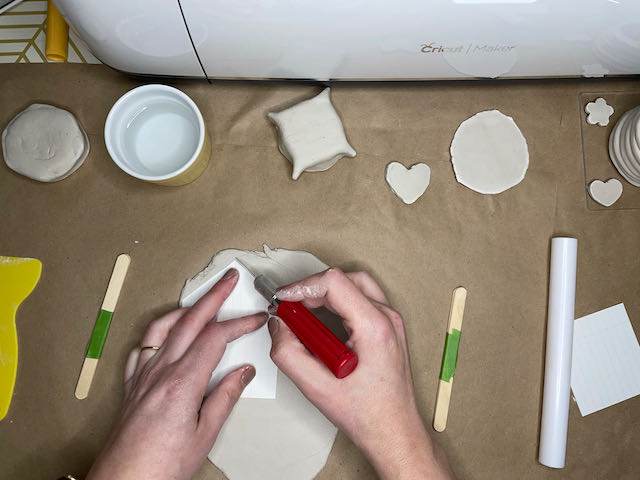
I used brown craft paper, but I would recommend parchment paper or teflon sheets instead if you have it. As I worked with the clay I could see flecks of the paper transferring onto the clay.
Before you start rolling your clay you need to work it in your hands quite a bit. This will warm it up and soften so it is easier to work with and will also help reduce cracking.
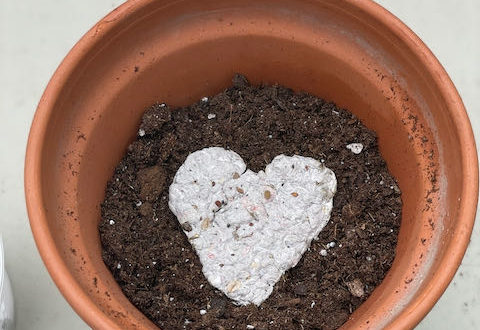
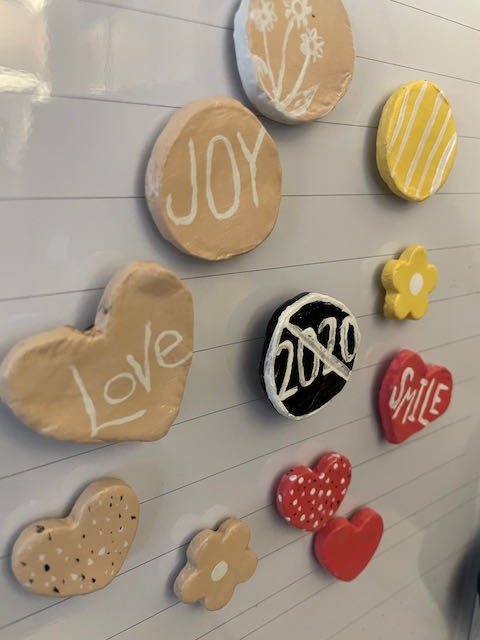
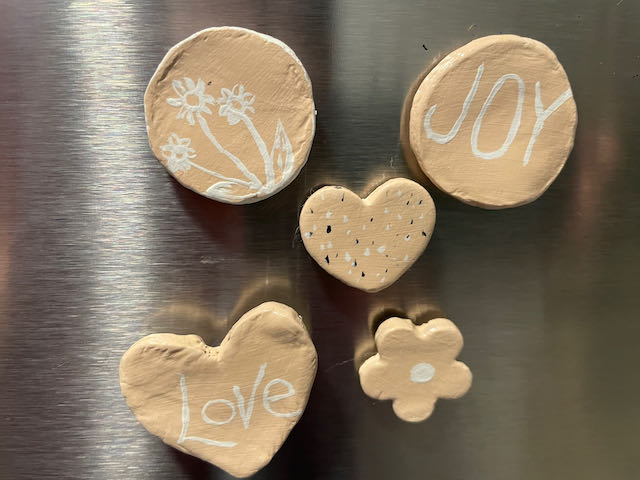
Easy Clay Magnets
For these magnets I tried a few different ways to ways to create my shapes. I freehand cut with my exacto knife, traced a shape and then took out my son’s little food cutters and just use that to get the perfect shape.
Dry Time – 24 Hours

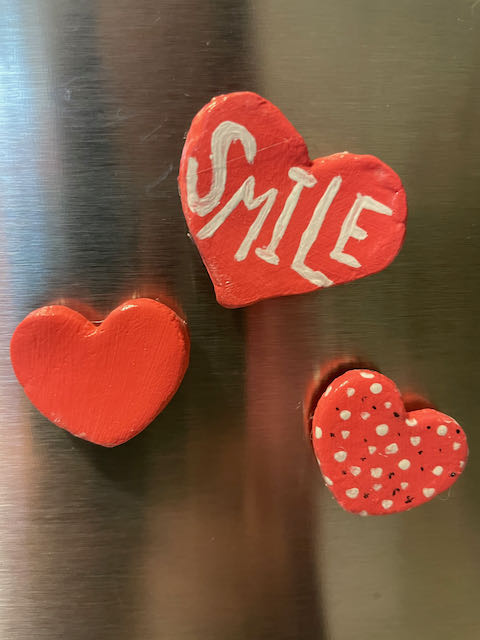
Honestly, I love all of them. The freehand cut hearts are my favorite, because they aren’t perfectly proportioned so I feel like they are more organic.
Roll out the clay tip – Take 2 popsicle sticks and tape them together. Use this as your guide so you have an even thickness
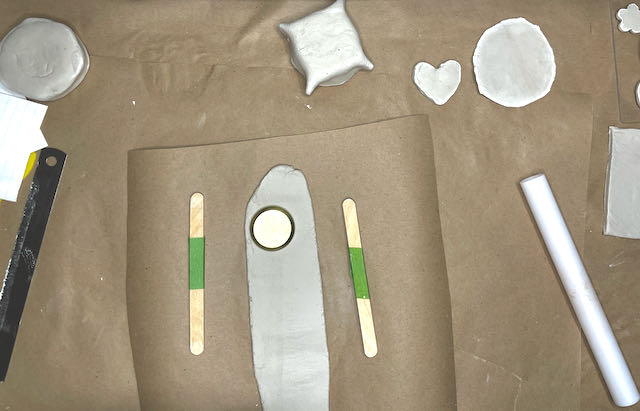
Once you have the right thickness, then go ahead and make your shapes. This is so easy and such an adorable addition to your refrigerator or memo board.
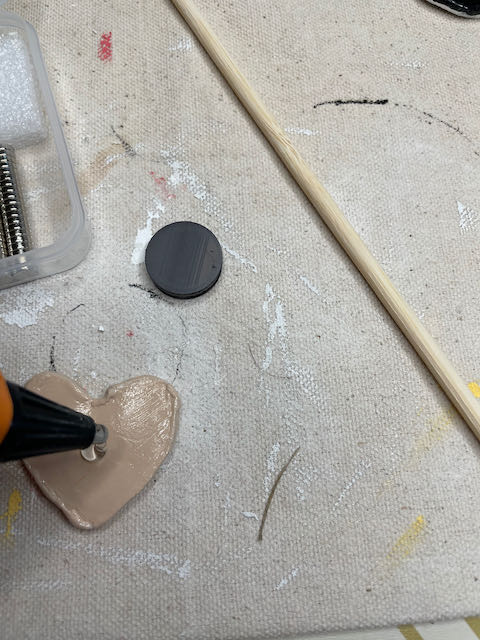
Once these are dry, go ahead and paint and seal them. Once everything is dry, use some hot glue and put the magnets on the back.
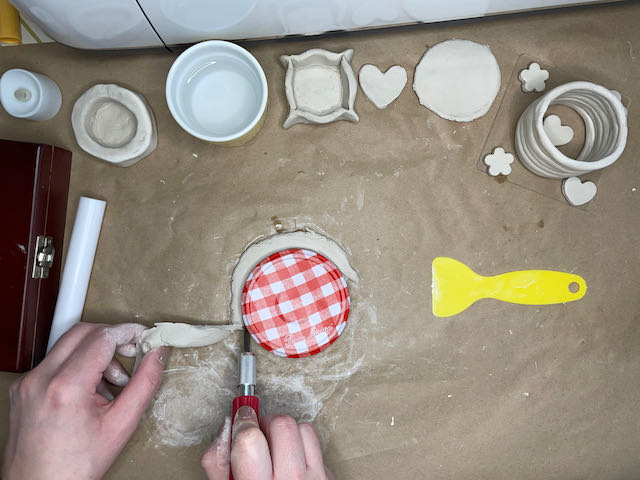
Clay Trinket Tray
For this I just use the top of an old jelly jar for my guide and kinda set it into the lid. It will create the perfect little bit of a bowl shape.
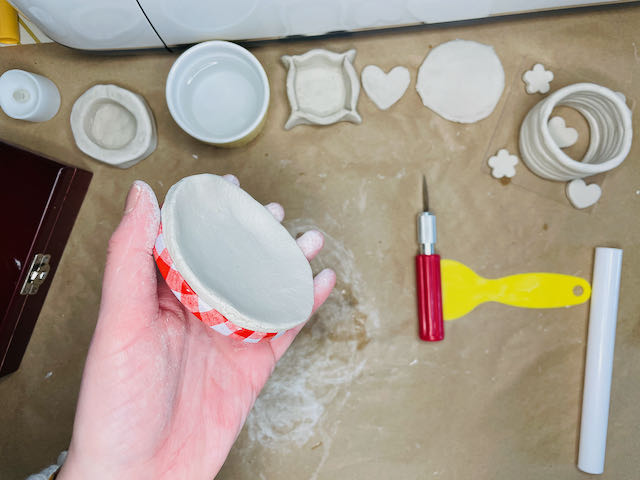
Dry Time – about 2 days
Clay Drying Tip: I flipped it over after day one so the bottom could dry a bit easier
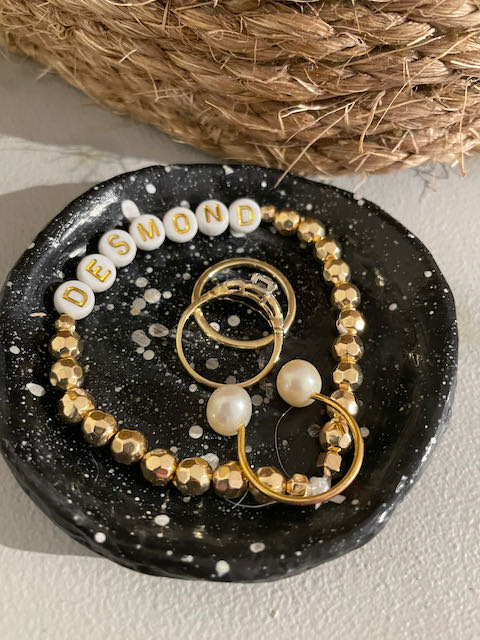
Then just paint it and seal it and you are done! Easy, right? I love this for your rings, but you could use this tray for anything. Make it whatever shape and size you want. This is so versatile.
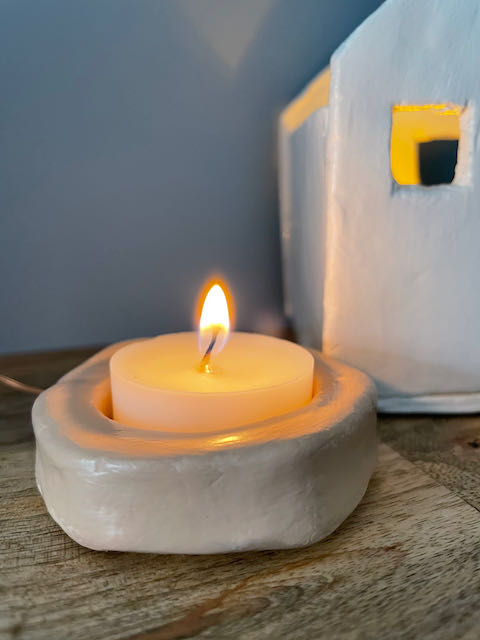
Clay Tea Light Holders
For this one, I just made a big ball and started shaping. I didn’t really have a plan. This is what I love about this – you can really come up with it on the fly.
I took a tea light I had and use that as my mold. I pushed it into the ball to get the perfect fitting, then I just started cutting off the sides to create more of a geometric shape.
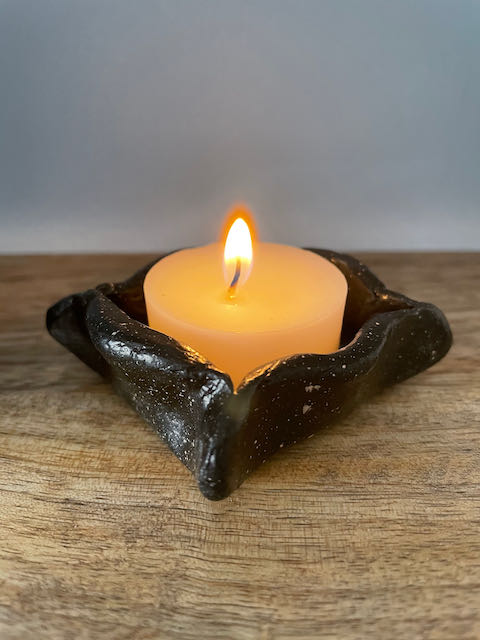
For the black tea light holder, I just rolled out my clay, cut a box shape and pulled the corners together. Easy Peazy!
Drying note – Since this is much thicker it took about 3 days for this to dry. Just keep that in mind when working on these thicker projects.
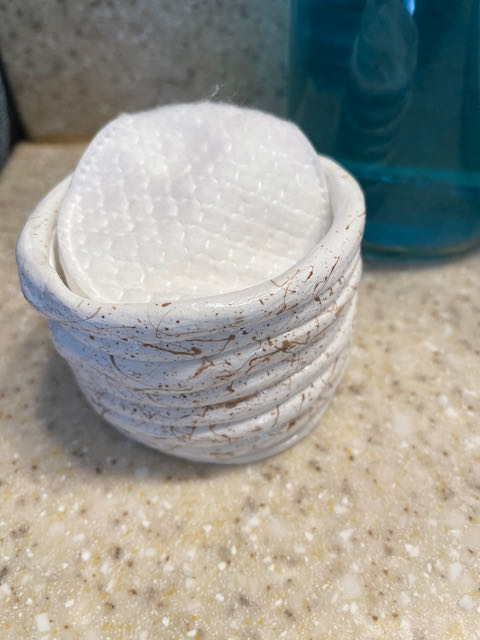
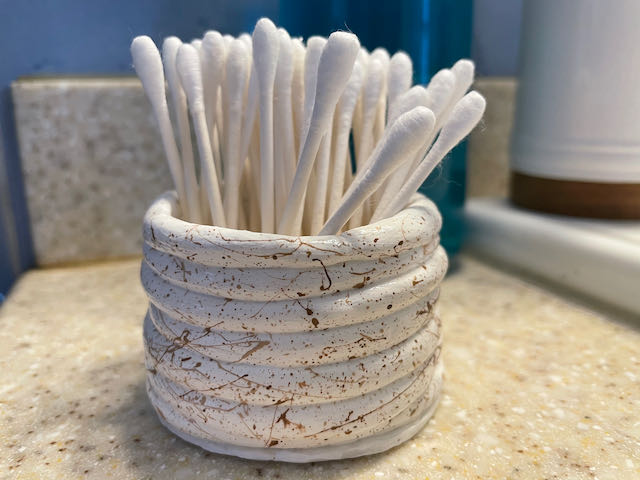
Clay Coil Container
Honestly – what do you even call this? Clay Coil Cup? Maybe that makes more sense.
Anyways – lol! For this one I just rolled out little clay ropes. I made a bunch of them. I also used a drinking glass as a guide to I could keep it uniform.
When joining the ropes together have some water handy. Rub some water on the top of your rope joined circle and then put the other one on top. This will help them bind together.
Now just keep going until you have the height you want.
This makes a great holder for cotton face pad, q-tips or those bathroom matches (you know we all have them – lol)

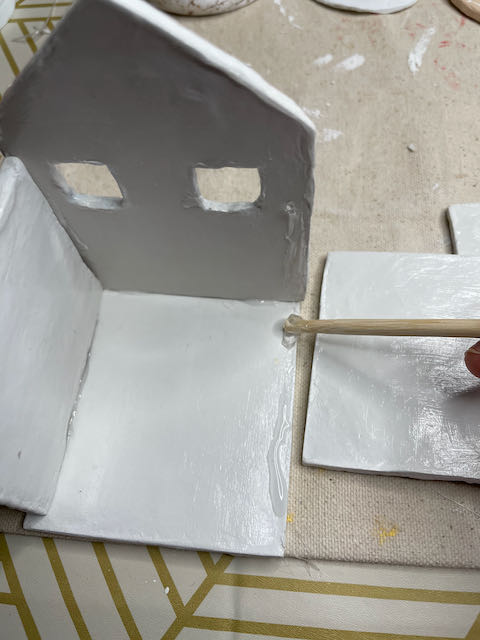
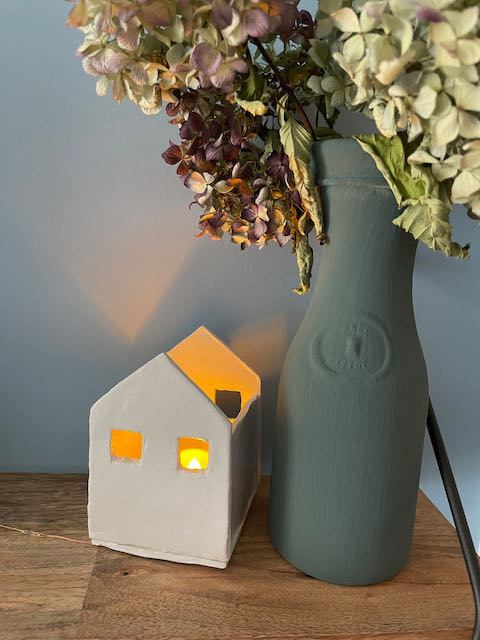
Air Dry Clay House
I found it helpful with this to make a template to cut out. I just used a sheet from my notebook. Rolled out the clay to 1/4″ and then cut out the pieces with my exacto knife.

After you let this dry, paint and seal, you need to glue the pieces together. I discovered that the hot glue did NOT work for this. They just immediately came apart again. However, E6000 worked perfectly.
Finishing your Air Dry Clay Pieces
Smoothing: You are going to want some fine grit sandpaper. If you have any rough edges or want to smooth out pieces, this will come in handy.
Painting: I recommend using acrylic paint. I also highly suggest playing around with your colors – mix them up to find that perfect shade. Have fun with it.
Sealing: I used mod podge with mine, but you can use any sealer. Just make sure it doesn’t get too wet. With this clay if it gets wet it will soften and then it will need to dry again.
Slip: A slip is a liquid mixture or slurry of clay and/or other materials suspended in water. I used the water to smooth out cracks of join 2 pieces of clay together.
I hope you found this helpful and try working with clay yourself.
Also if you are a master at air dry clay, I would love some more tips. 🙂 Drop a note in the comments section.